- Shop Now
- Burncoose Specialities
- This Month
- Offers & Promotions
- RHS Chelsea Flower Show 2024
- 40 years at Burncoose
- Engage With Us
- Information, Help & Advice
- About Us & Our Services
- Terms & Conditions
- Log In / Register
Chapters
Shrubs and Trees - Seeds - 3) Planting Seeds
Introduction
This is final part of our three-part How to collect, store and plant woody tree and shrub seeds.
1) Collecting Seeds.
2) Storing Seeds.
3) Planting Seeds.
Planting seeds in spring
What do I need and how do I begin?
You are not growing annuals, herbaceous plants or vegetable seeds which will germinate very quickly in a week or two so a slightly different approach is needed.
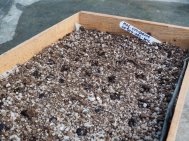
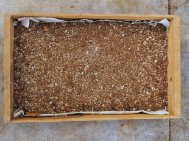
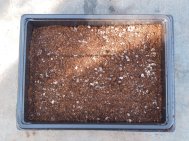
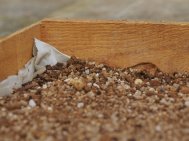
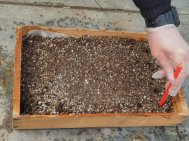
Smaller seeds are best grown in plastic seed trays or, better still, more old fashioned wooden seed trays.
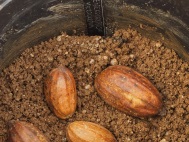
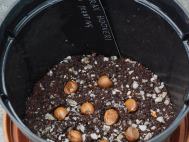
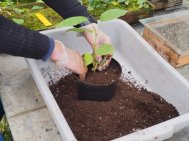
Larger seeds are best grown in deeper pots either individually or with three to five larger seeds per pot.
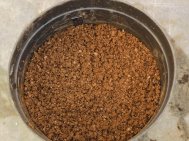
Standard size compost (purchased from any garden centre) is fine but not ideal on its own – you can do better.
The best seed mixture for ericaceous (woody trees and shrubs) is finely sieved good quality TOPSOIL mixed with some sand or grit and peat if you prefer but say 60-70% pure (natural) topsoil. Some seed composts may well already contain grit.
While it may be advisable to grow seeds of annuals sown early with a heat pod underneath the seed tray this is not needed or even advisable for these sorts of seeds which may take far longer to germinate.
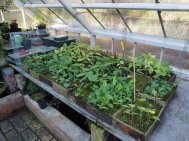
What is needed is plenty of warmth and daylight (ie the kitchen windowsill is not ideal) together with the moisture and humidity of the greenhouse.
The plants you are trying to grow germinate in the wild (often in China) in moist leaf litter on the forest floor. Those are the conditions you are trying to recreate and improve on to germinate your seeds.
A solid base of slate or wood will help dissipate warmth up into the seed tray or box.
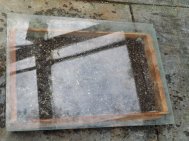
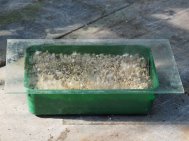
Covering your trays and boxes with sheets of glass will also warm the soil and generate warm humidity over the seeds.
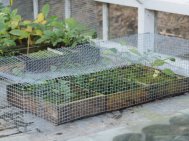
More importantly still this will prevent mice or shrews digging up your seeds or eating your emerging seedlings.
The exact spacings between seeds of varying sizes and, more importantly, the depth to which they should be planted in the seed trays or pots requires common sense.
Basically tiny seeds should be sown on the surface and bigger seeds more deeply.
Various examples (with pictures) of how to plant different types of seeds are shown below.
One more thing before you start
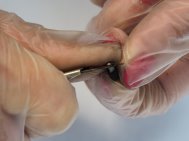
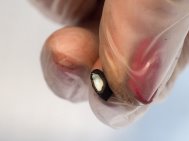
If you have plenty of seeds of anyone variety take secateurs, a sharp knife or razor blade and cut one in half.
If it is green the seed is alive, has overwintered well, and should germinate properly.
If, even in the tiniest seed, there is no sign of life but rather a shrivelled void or perhaps a rotten ‘mush’ then you are wasting your time planting them as they are already unviable and dead.
Different techniques for sowing different types of seed.
Magnolias
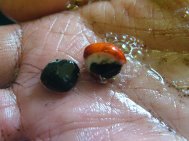
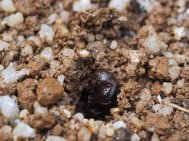
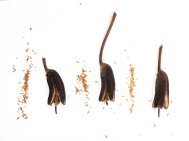
Magnolia seeds had a thick orange outer coating when gathered. This outer coating which, by now, may well be brown and growing a hairy down needs to be removed or squeezed off between finger and thumb before sowing. If you do not do this germination will be poor or non-existent. In the wild this coating would be digested by the rodent or bird which ate the seed before it was secreted.
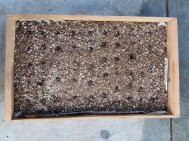
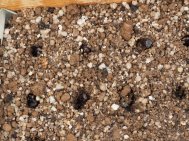
Seed spacing needs to be about 1 inch. So you would plant 40 magnolia seeds in one standard tray.
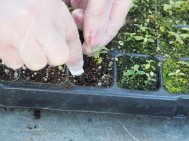
The seed holes can be made with a pencil about an inch or less deep and the seeds then individually inserted and firmed in.
Water the seeds in and cover with a pane of glass until the first 'juvenile' leaves appear say six to ten weeks.
The seed tray needs to stay moist but not too soggy and wet or the seeds will rot.
After germination remove the glass but cover the tray with mesh to keep the mice out. Mice love the smell of magnolia and relish the challenge. Slugs too are a threat and need to be deterred and squashed when seen.
The young seedlings need protection from direct sunlight on hot days for several weeks. Old newspaper can be used between mid-morning and the early evenings.
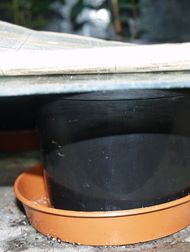
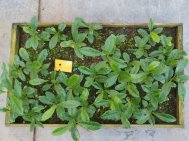
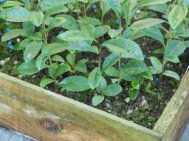
The seedlings can stay and grow on in the same tray for a whole year before they need to be potted on the next spring just before growth recommences.
Usually, after a good first growing season, they can go straight into a 2 or 3 litre pot.
Rhododendrons
Here the problem and solutions are different.
The seeds are so numerous and tiny that a sneeze or a puff of wind can blow them away. They need to be sown on the surface of the seed tray and gently smoothed in rather than buried.
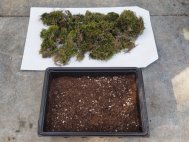
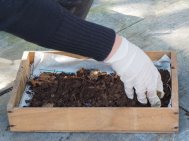
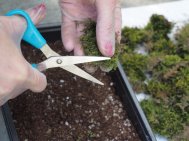
So the old fashioned way of ensuring a high rate of germination is to collect some moss, dry it off a little, and cut it up with scissors.
Then spread it lightly over the top of the seed tray and sow the seeds from the palm of your hand (or a salt cellar with the seed mixed with sand). Make sure the soil level is well below the top of the tray so that the glass covering does not touch the soil and, indeed, is well below it.
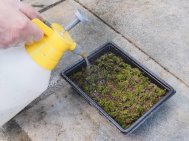
Water in the seeds and moss with a hand held water sprayer. A watering can or any other method of watering in will mean the seeds all float to one end of the tray. Standing the seed box in a tray will allow self-watering from below but this must not be excessive or the seeds will rot in a waterlogged seed mix.
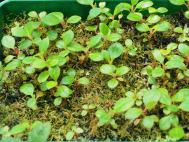
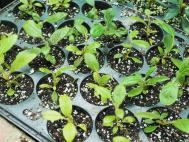
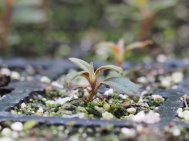
The moss will start to grow quickly and the rhododendron seedlings will germinate in four to six weeks in and around the moss. These are EXACTLY the moist, shady and humid conditions in which rhododendron seeds would and do naturally germinate in the wild on Chinese mountains or, less readily, but occasionally, in English gardens.
The greatest risk to emerging rhododendron seedlings is direct sunlight which can readily scorch and kill them. So your see tray needs not only a glass covering until germination is well underway, but also a newspaper covering (or similar). Shading on the greenhouse itself is often not enough on its own.
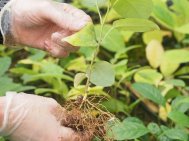
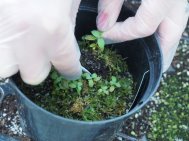
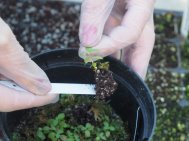
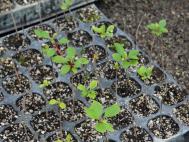
Germination of more rhododendron seedlings in the tray may well take place right through the summer months. You should therefore ‘prick out’ the first larger seedlings from the tray and transfer them to grow on in small 7cm pots or something similar to give the others room to develop. These transplants will also be vulnerable to scorching on hot days and will continue to need protection from direct sunlight.
If there are tiny seedlings still in abundance in the seed tray by September spread the risk and leave what is left overwinter. Try pricking out and potting on more in the following May or June when they have put on another set of new growth. Do not overwater over winter but just keep moist while the seedlings are dormant. Provide frost protection if need be on occasion with a fleece covering if your greenhouse is unheated.
Camellias
These are easier to deal with although germination rates can vary hugely from year to year.
Camellias are top rooted plants (one central dominant root) and camellia seedlings are the same.
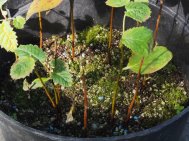
Plant three to five seeds only in a deep 2 or 3 litre pot with the same soil/compost mix as for all these woody plants.
Cover the pots with glass until germination occurs after six to eight weeks. Again germination may well not all occur at once but remove the glass soon after the first sign of germination.
If the pots are large enough there is no need to prick out or transplant seedlings until the next spring when they should easily be big enough to pot on in March or April.
Other plants
All woody plants take different times to germinate.
Some rarities or difficult plants may only germinate in the second spring after planting. Davidias, rehderodendrons and oaks with larger acorns fall into this category. So just plant them in big pots (preferably clay), keep the mice out and forget about them for a year hoping for a big surprise.
Within the boundaries of what is set out above treat all woody trees and shrubs in the same manner. Plant bigger seeds in pots and smaller ones in trays.
If you fail with a particular type of seed one year try again next autumn as rarer plants can be fickle and germination rates can vary hugely for individual plants from season to season.
Good Luck!
Luck can however be improved by following these instructions.
Please call the nursery or email us if you have any specific queries or problems growing particular plants. If we have tried them ourselves we may know the answers some of the time!

