
- Tree Planting
- Pruning Branches
- Hydrangeas
- Winter Casualties
- Lifting and Moving
- Splitting and Dividing
- Rhododendrons
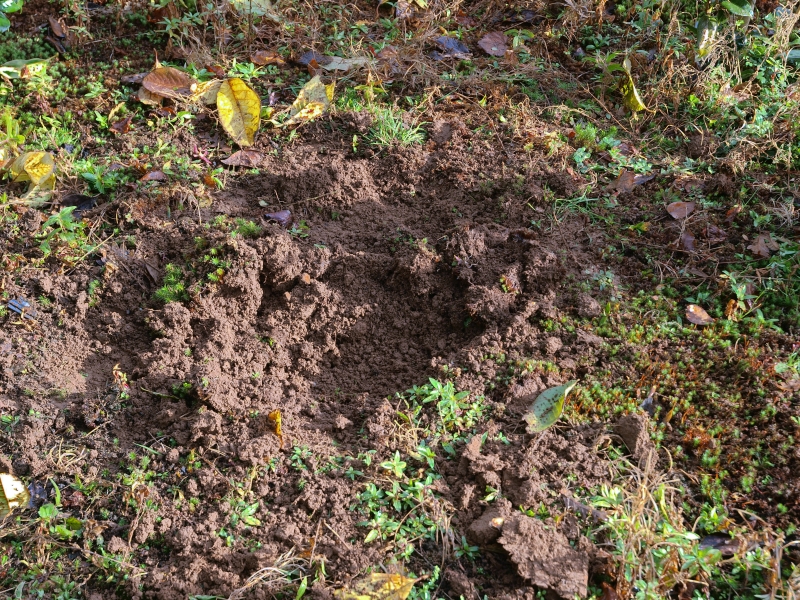
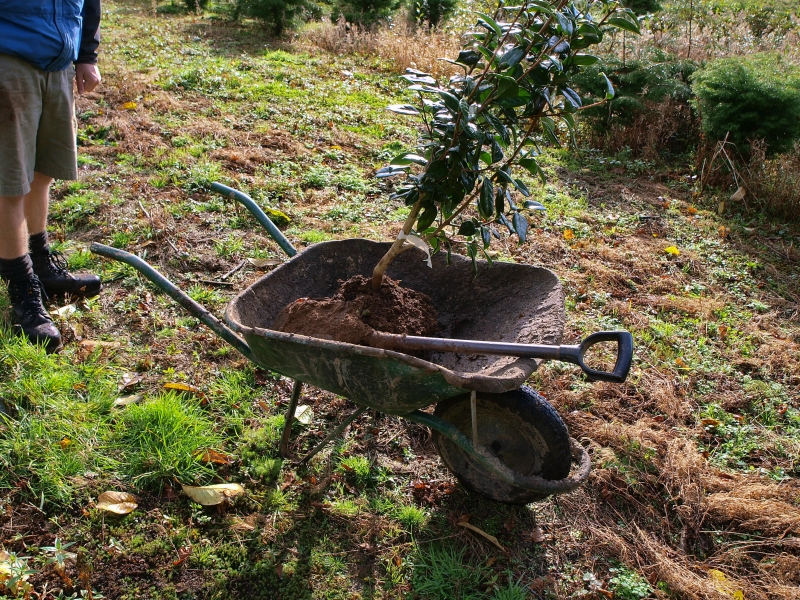
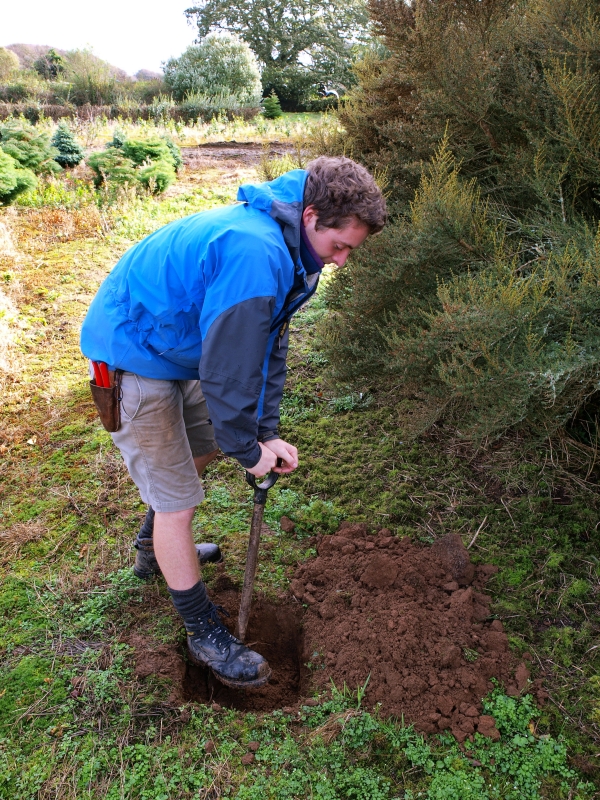
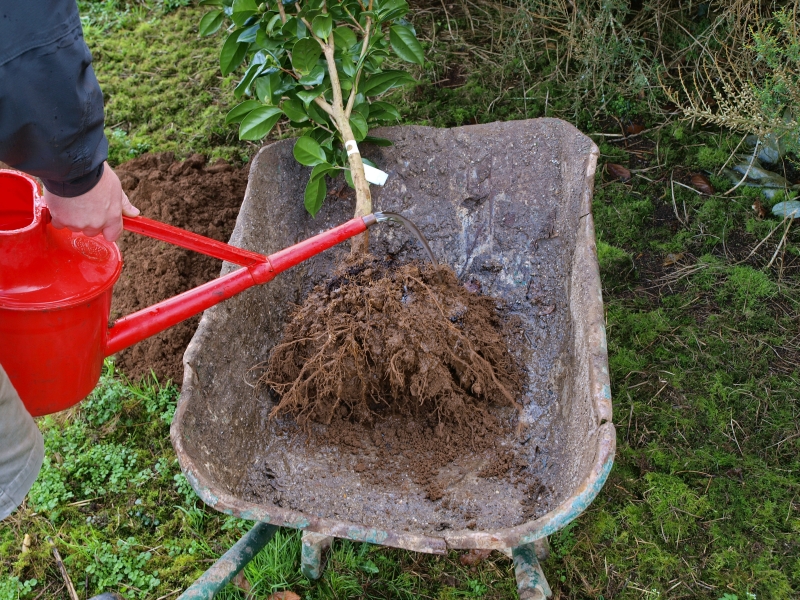
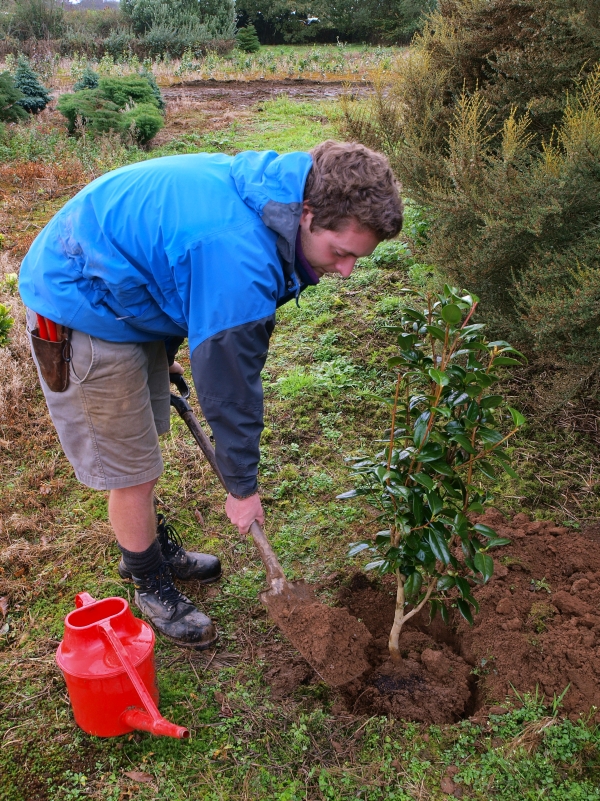
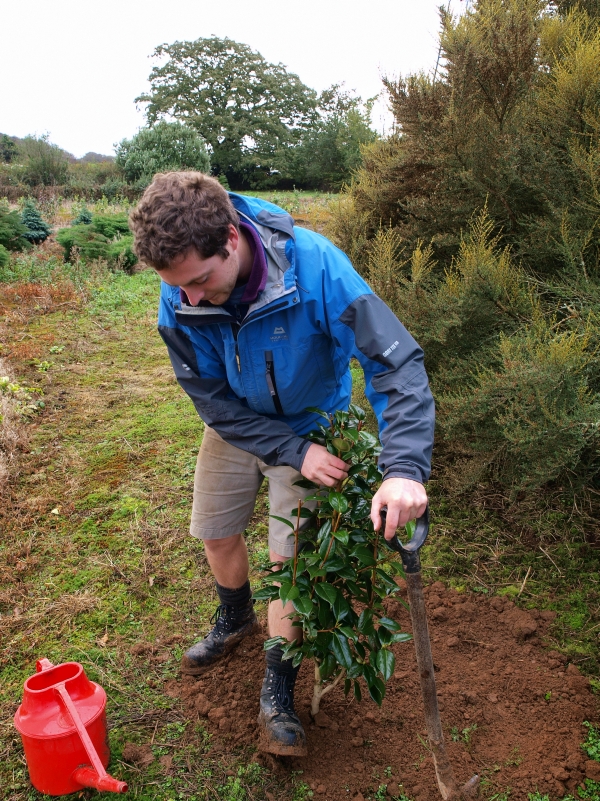
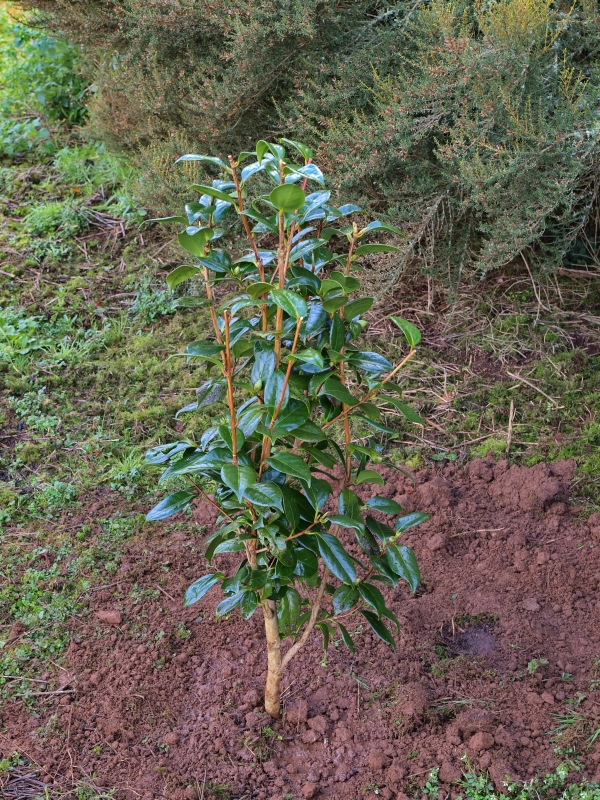
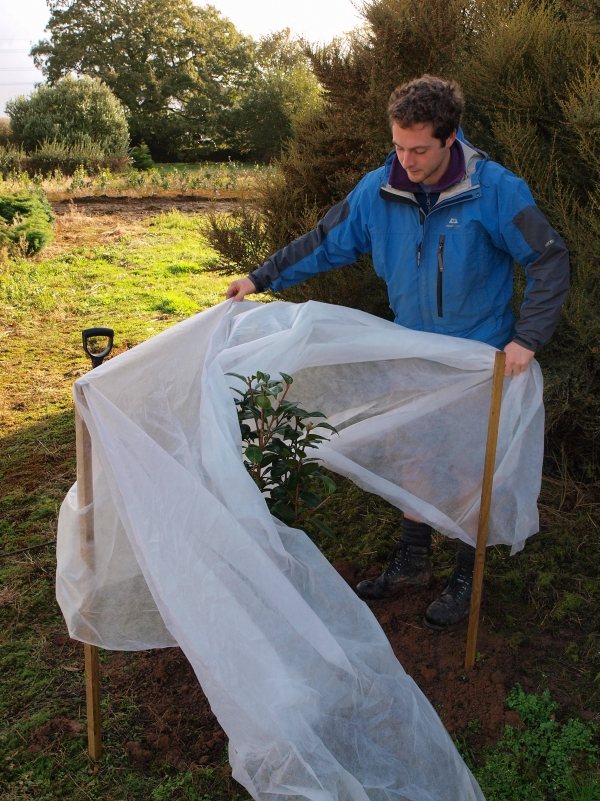
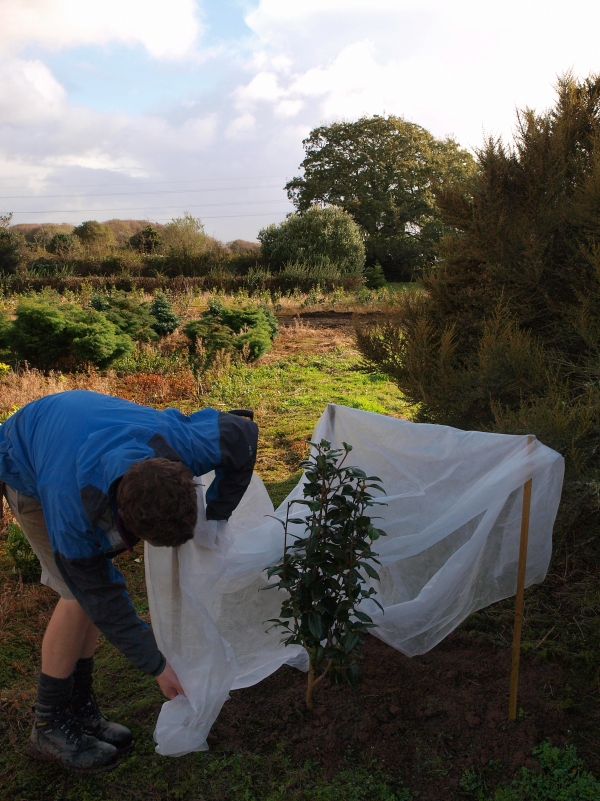
Tree Planting
March is the best time of the year to plant.
Choose periods when the ground is reasonably dry and you can work with soil which is reasonably friable and not just lumps of mud.


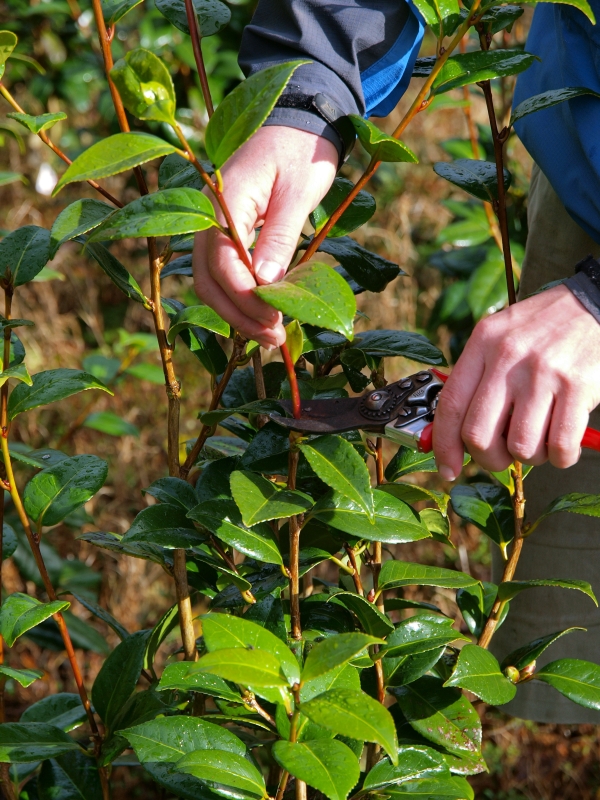
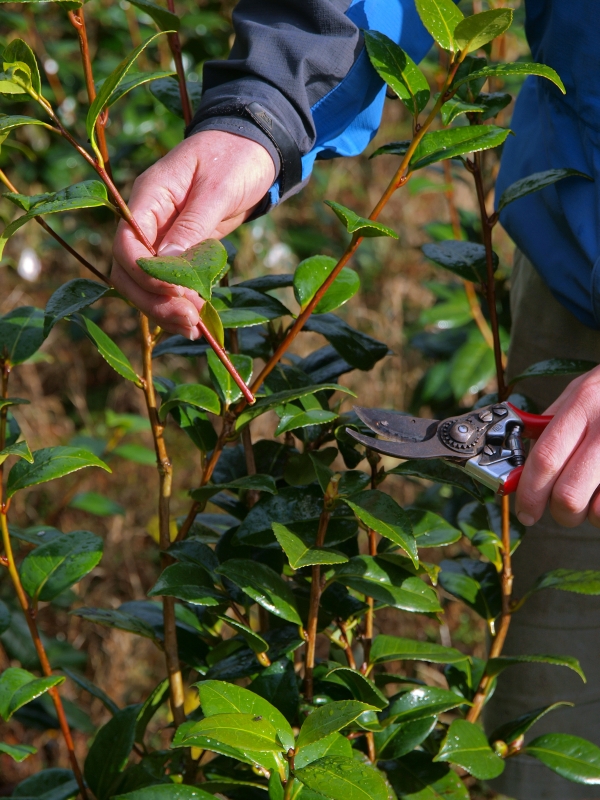
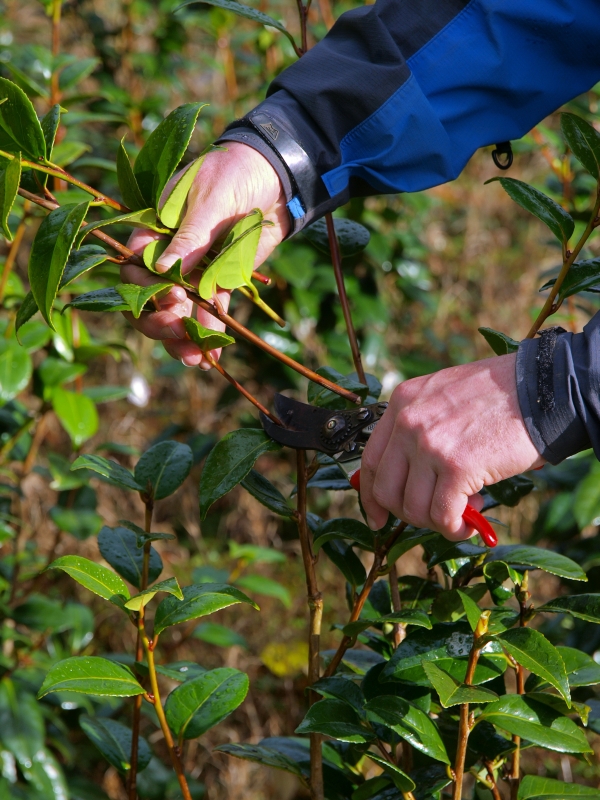
Pruning Branches
Pruning Hydrangeas in March
Click for full hydrangea care article.
For best results cut back the stem only to the first pair of good buds.
This may take you back a little way down the stem and may mean removing one or two buds closer to the old flower.
Where you have too many stems which are too thick by all means prune some of them out completely.
What you must avoid however is pruning too hard where you would effectively be removing the flower buds for the forthcoming season.
Click here for our how to care for your Hydrangeas article, with pruning pictures.
Winter Casualties

Scratch the stems of plants which appear dead with a fingernail or secateurs. If there is some green showing prune back the twigs until you find green growth and, as (or if) new shoots appear prune back to these. Even if the plant appears dead some things will still shoot from ground level if cut back hard now.
Acacias, bananas and many more tender wall shrubs will often shoot again very vigorously if treated in this way. Sadly most other tender shrubs and climbers will indeed be dead and need replacing.
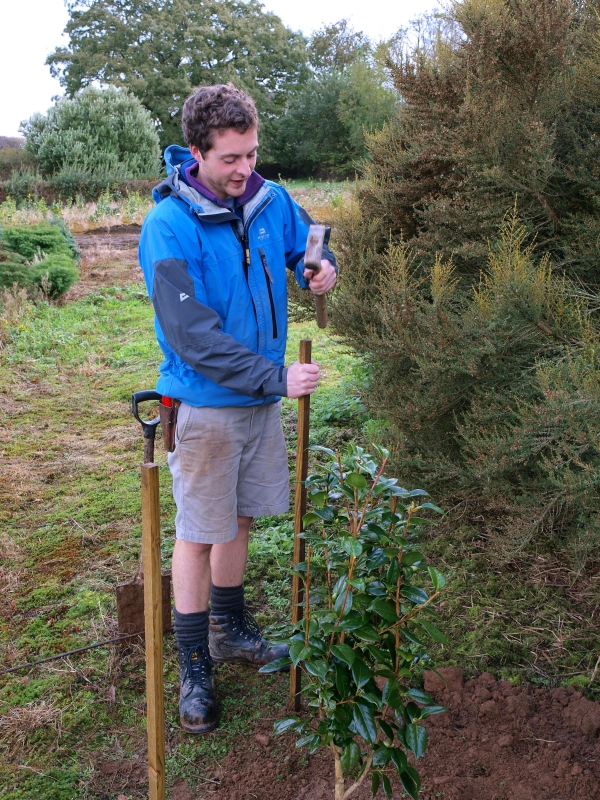
Walk around and check that plants are not split with the wind, prune and re-stake if necessary.
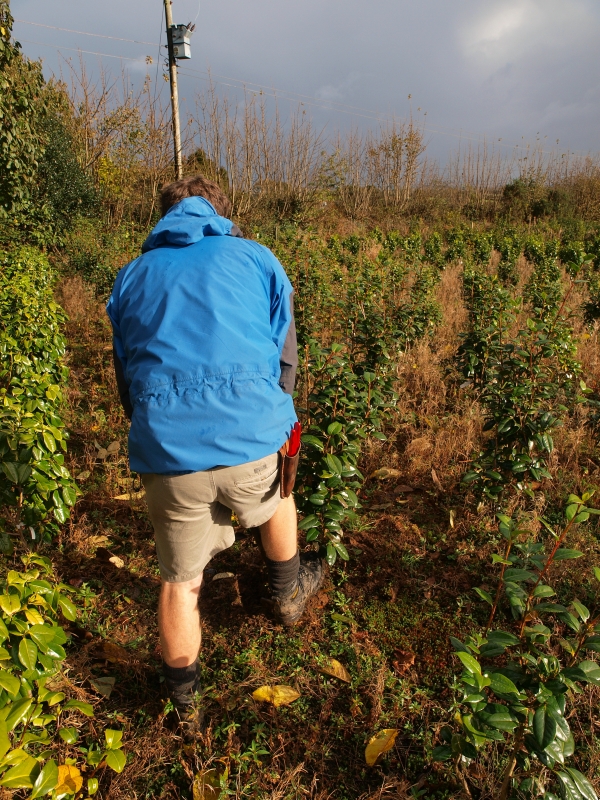
Lifting and Moving
March is also the time to lift and move established shrubs that are either too big for their current position, or because they are not in the best place in your garden for you.
Click for full shrub care guide.


Dividing and Replanting


Rhododendrons
Lifting and Re-planting Layers
Checking last year cuttings