- Shop Now
- Burncoose Specialities
- This Month
- Offers & Promotions
- RHS Chelsea Flower Show 2024
- 40 years at Burncoose
- Engage With Us
- Information, Help & Advice
- About Us & Our Services
- Terms & Conditions
- Log In / Register
Chapters
- Camellia Care - Video Tip
- Soil Conditions
- Planting Tips
- Pruning
- Camellia Pruning - Video Tip
- Wind damaged pruning & staking - Video Tip
- Camellia as a windbreak - Video Tip
- Pests and Diseases
- Sooty mould in spring - Video Tip
- Propagation
- Collecting Camellia Seeds - Video Tip
- Propagation by semi-ripe cuttings - Video Tip
- Flowering Periods
- Sporting in Camellias
- Self Seeding Camellia reticulata - Video Tip
- Further Reading
- Plants
Camellia - Care Guide
Camellia Care - Video Tip
Soil Conditions
Camellias are acid loving ericaceous plants. This means that they can be successfully grown in all parts of the UK which do not have chalk. In chalky or limestone (i.e. alkaline) areas camellias can only be grown in containers filled with a peat based compost and watered with rainwater rather than tap water which may also have a lime content.
Avoid planting camellias near old walls which may have been built with cob or lime mortar. If this leeches out into the surrounding soil camellia leaves can turn an unsightly yellow and extra feeding will be needed.
Planting Tips
Back to Top Camellias can be grown in full sun, partial or even full shade. Dappled shade is perhaps ideal especially for white flowering forms. They can readily withstand the coldest winters and are fully hardy.
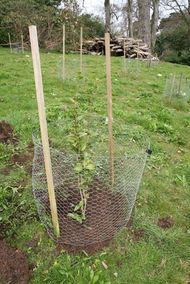
They are tap rooting plants and grow very quickly. If planted in a windy area a stake is advisable for the first few years as these evergreen plants can twist and break off at ground level in exposed positions. That is not to say that camellias cannot be planted in windy positions as many of the older more established varieties make excellent windbreaks (C. ‘St Ewe’, C. ‘Debbie’, C. ‘Anticipation’).
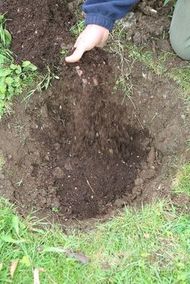
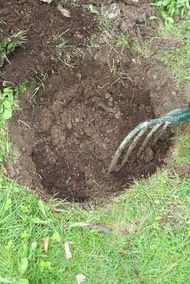
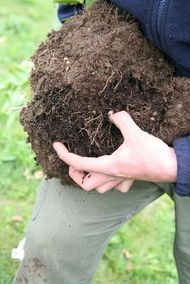
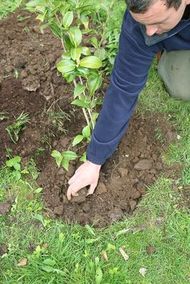
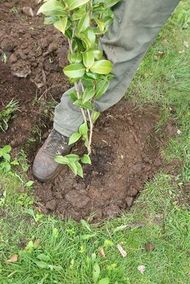
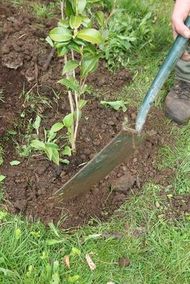
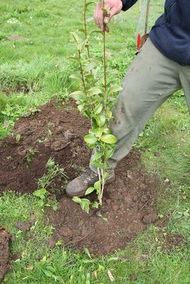
Camellias are best planted in the spring or autumn with some leaf mould, peat or farmyard manure incorporated into the planting pit ideally with a sprinkling of fertiliser. Vitax Q4 is one of the best. If you need to move an established camellia see this article
If rabbits can gain access to your garden it may be advisable to put a wire netting surround around the plant for 2 or 3 years until it has grown enough to be out of danger.
Pruning
Camellias are very hardy and resilient plants which can be lightly pruned at virtually any time of the year. However, unless you need to shape up a plant or perhaps clear a pathway there is absolutely no need to prune a camellia. In fact pruning is very likely to remove the best new growth which will produce the best of next year’s flowers.
The ideal time to prune a camellia is just after flowering but immediately before the soft new growth emerges. In practise this means in April or early May.
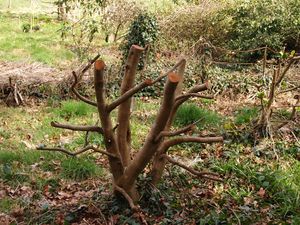
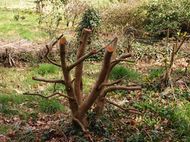
Elderly camellias of over, say 30 years of age, may become a bit chloritic or unevenly shaped and unsightly. If so it is perfectly possible or even desirable to prune them back to a hatstand with no foliage at all. Such drastic pruning would kill many plants but camellias can be successfully rejuvenated by drastic pruning of this sort. Within a very short time a mass of new shoots will appear from the old wood to create a vigorous new bush. A good feed of well rotted mature around the roots would also speed up the process.
Camellia Pruning - Video Tip
Pruning
Dead Heading
Wind damaged pruning & staking - Video Tip
Camellia as a windbreak - Video Tip
Pests and Diseases
Camellias are relatively free of pests and diseases and are particularly resistant to honey fungus. If you lose a rhododendron or another shrub in your garden from this disease then planting a camellia in its place rather than another similar shrub will overcome the problem.
There is an old wives tale which says that camellia flowers are vulnerable to early morning sun. If there has been an overnight frost on fully open flowers which is melted by early morning sun then this may have a little basis in truth. However, in reality if a flower has been caught by a hard frost it will probably brown off whether in full sun or full shade.
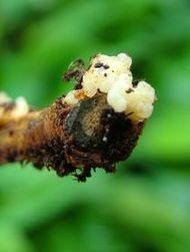
Camellias sometimes develop unsightly white galls which are golf ball sized and hang down from the bush. These are actually acting as protection for insect larvae and cause no ill effects to the shrub whatsoever.
More unsightly still but again not actually damaging to the plant are scale insect infestations on the undersides of camellia leaves. In very mild winters in Western counties scale insects do not die off or get eaten by the birds and, as with summer infestations of greenfly, their secretions fall down on to lower leaves where they grow a dense black mould. Individual plants can look very ugly indeed in spring but the black mould will wash off eventually and the scale insect infestation may well not occur the following year. If you plant starts to get black secretions on its leaves spray the scale insects with a proprietary insecticide to control the problem.
Sooty mould in spring - Video Tip
Propagation
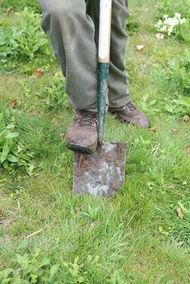
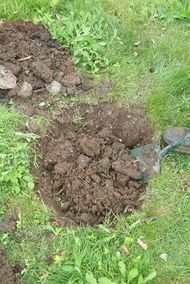
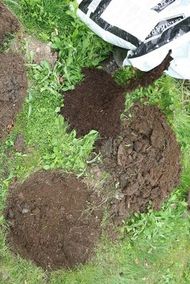
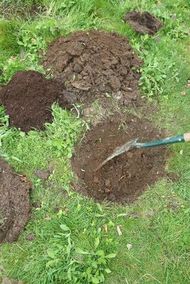
Very few camellias set seed in our British climate. However, if you are interested the pictures below show you how it is done.
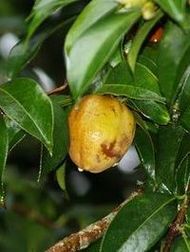
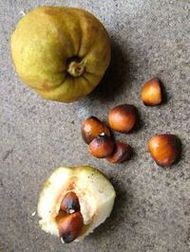
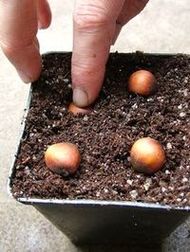
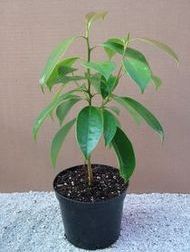
We have more detailed 3-part article on collecting, storing and planting seeds, with specific sections on Camellia seed collection and Camellia seed planting if you are interested in this in more detail.
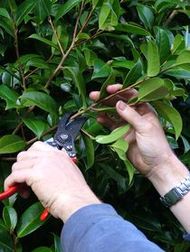
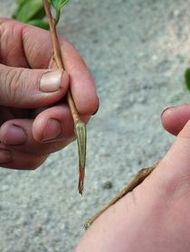
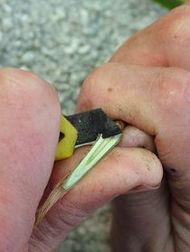
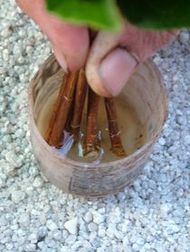
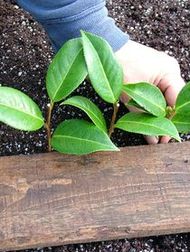
Nearly all camellias are therefore propagated by cuttings.
Camellia cuttings are best taken from August through to October when the new growth has stopped being limp and floppy but before it becomes too rigid to be bendable between your fingers.
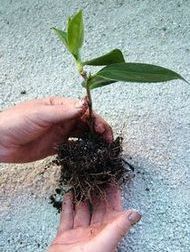
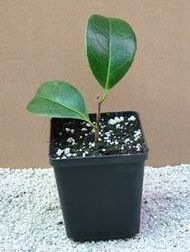
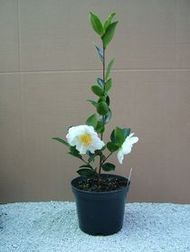
Collecting Camellia Seeds - Video Tip
Video from December 2019
Video from December 2020
Propagation by semi-ripe cuttings - Video Tip
Pinching out cuttings for better shape
Flowering Periods
There are very few types of plants which can genuinely claim to produce flowers in every month of the year. Camellias come very close.
In September and October C. sasanqua varieties come into bloom. These are small flowered camellias which are more tender than C. japonica or C. x williamsii varieties but, unusually for camellias, they do have a good scent.
By November the first of the x williamsii camellias start into bloom and, by Christmas, flowering is often in full swing.
Early spring sees the C. japonica varieties come into their own and even at the time of the Chelsea Flower Show in late May there are still varieties which are often capable of surprising. Forms of C. japonica Mathotiana often have the odd flower hanging on then especially in full shade.
Sporting in Camellias
Some camellias have a peculiar habit of producing different coloured flowers on different parts of the same plant. This is known as ‘sporting’ and is not that unusual although it can come as a surprise.
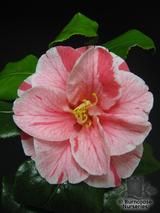 Sporting is the way in which a plant reveals part of its genetic makeup or parentage. The most obvious sporting occurs where red and white camellias have been crossed to produce a mottled or flecked double flowered hybrid. Such hybrids often also exhibit single white and or single red flowers as well. Camellia ‘Tricolor’ and Camellia ‘Adelina Patti’ are good examples of this trait.
Self Seeding Camellia reticulata - Video Tip
Further Reading
Collecting, Storing and Planting woody tree and shrub seeds.
Further reading on the Caerhays website:-
History of the x williamsii camellias.
x Williamsii camellias raised and bred at Caerhays and Burncoose.
Further reading and images in the Caerhays Garden Diary - Camellias.


